ZAP (Zed Attack Proxy) – Getting Started with Security Testing
Zed Attack Proxy (ZAP, zaproxy) is an open-source security testing tool that helps you identify security vulnerabilities in your web applications. It is a great tool for penetration testing, security testing, and security scanning. Zaproxy is easy to use and provides many features to help you uncover vulnerabilities in your web applications.
This is a brief guide on how to execute first security tests with Zaproxy.
Getting Started with Zaproxy
To get started with Zaproxy, you need to download and install it on your machine. You can download Zaproxy from the official website https://www.zaproxy.org/.
Importing URLs
Once you have installed Zaproxy, you can import the URLs of the web applications you want to test. You can import the URLs from the Import menu.
URLs can be imported from a file, such as a recorded HAR file, or from a list of URLs. When testing your own API, the easiest method is to use the URL list from the OpenAPI specification.
Simply add the file or URL and click Import.
Setting Attack Strength and Alert Threshold
Zaproxy provides different scan levels that you can use to test the security of your web applications. You can set the scan levels through Analyze -> Scan Profile Manager.
- Default attack strength defines the intensity of the attacks that Zaproxy will use to test the security of your web applications.
- Default alert threshold sets the sensitivity for the alerts that Zaproxy will generate when it detects security vulnerabilities in your web applications.
The medium setting works well for most cases.
Running the Security Test
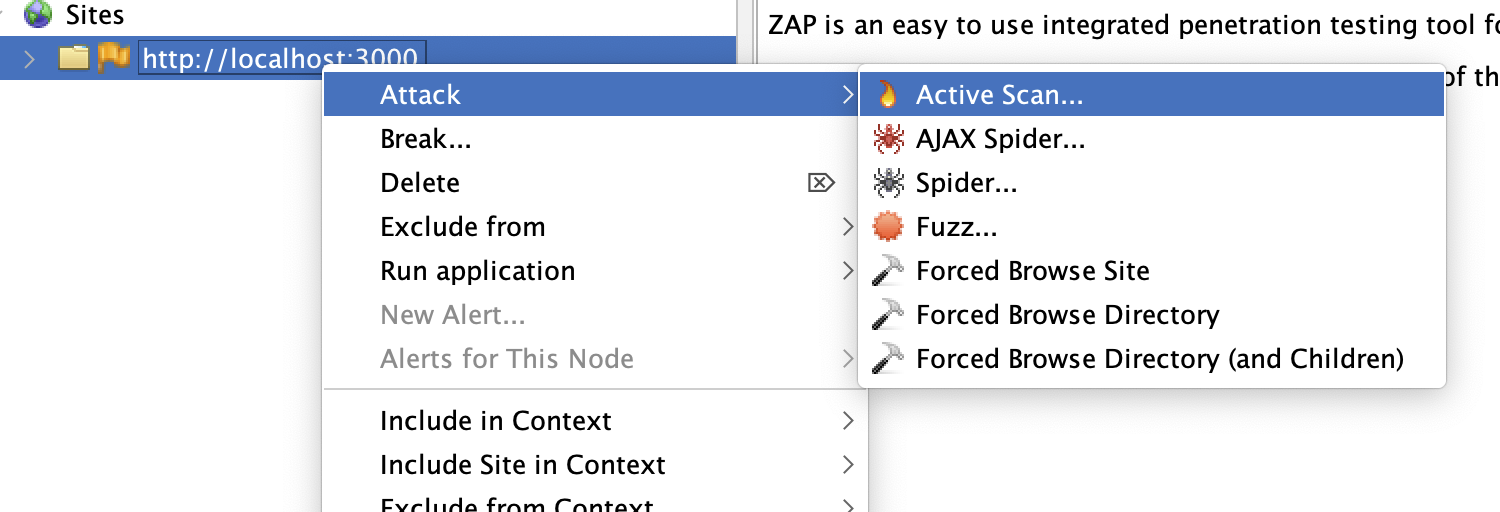
Right-click on the site and select Attack -> Active Scan.

Executing a Request to a Single URL
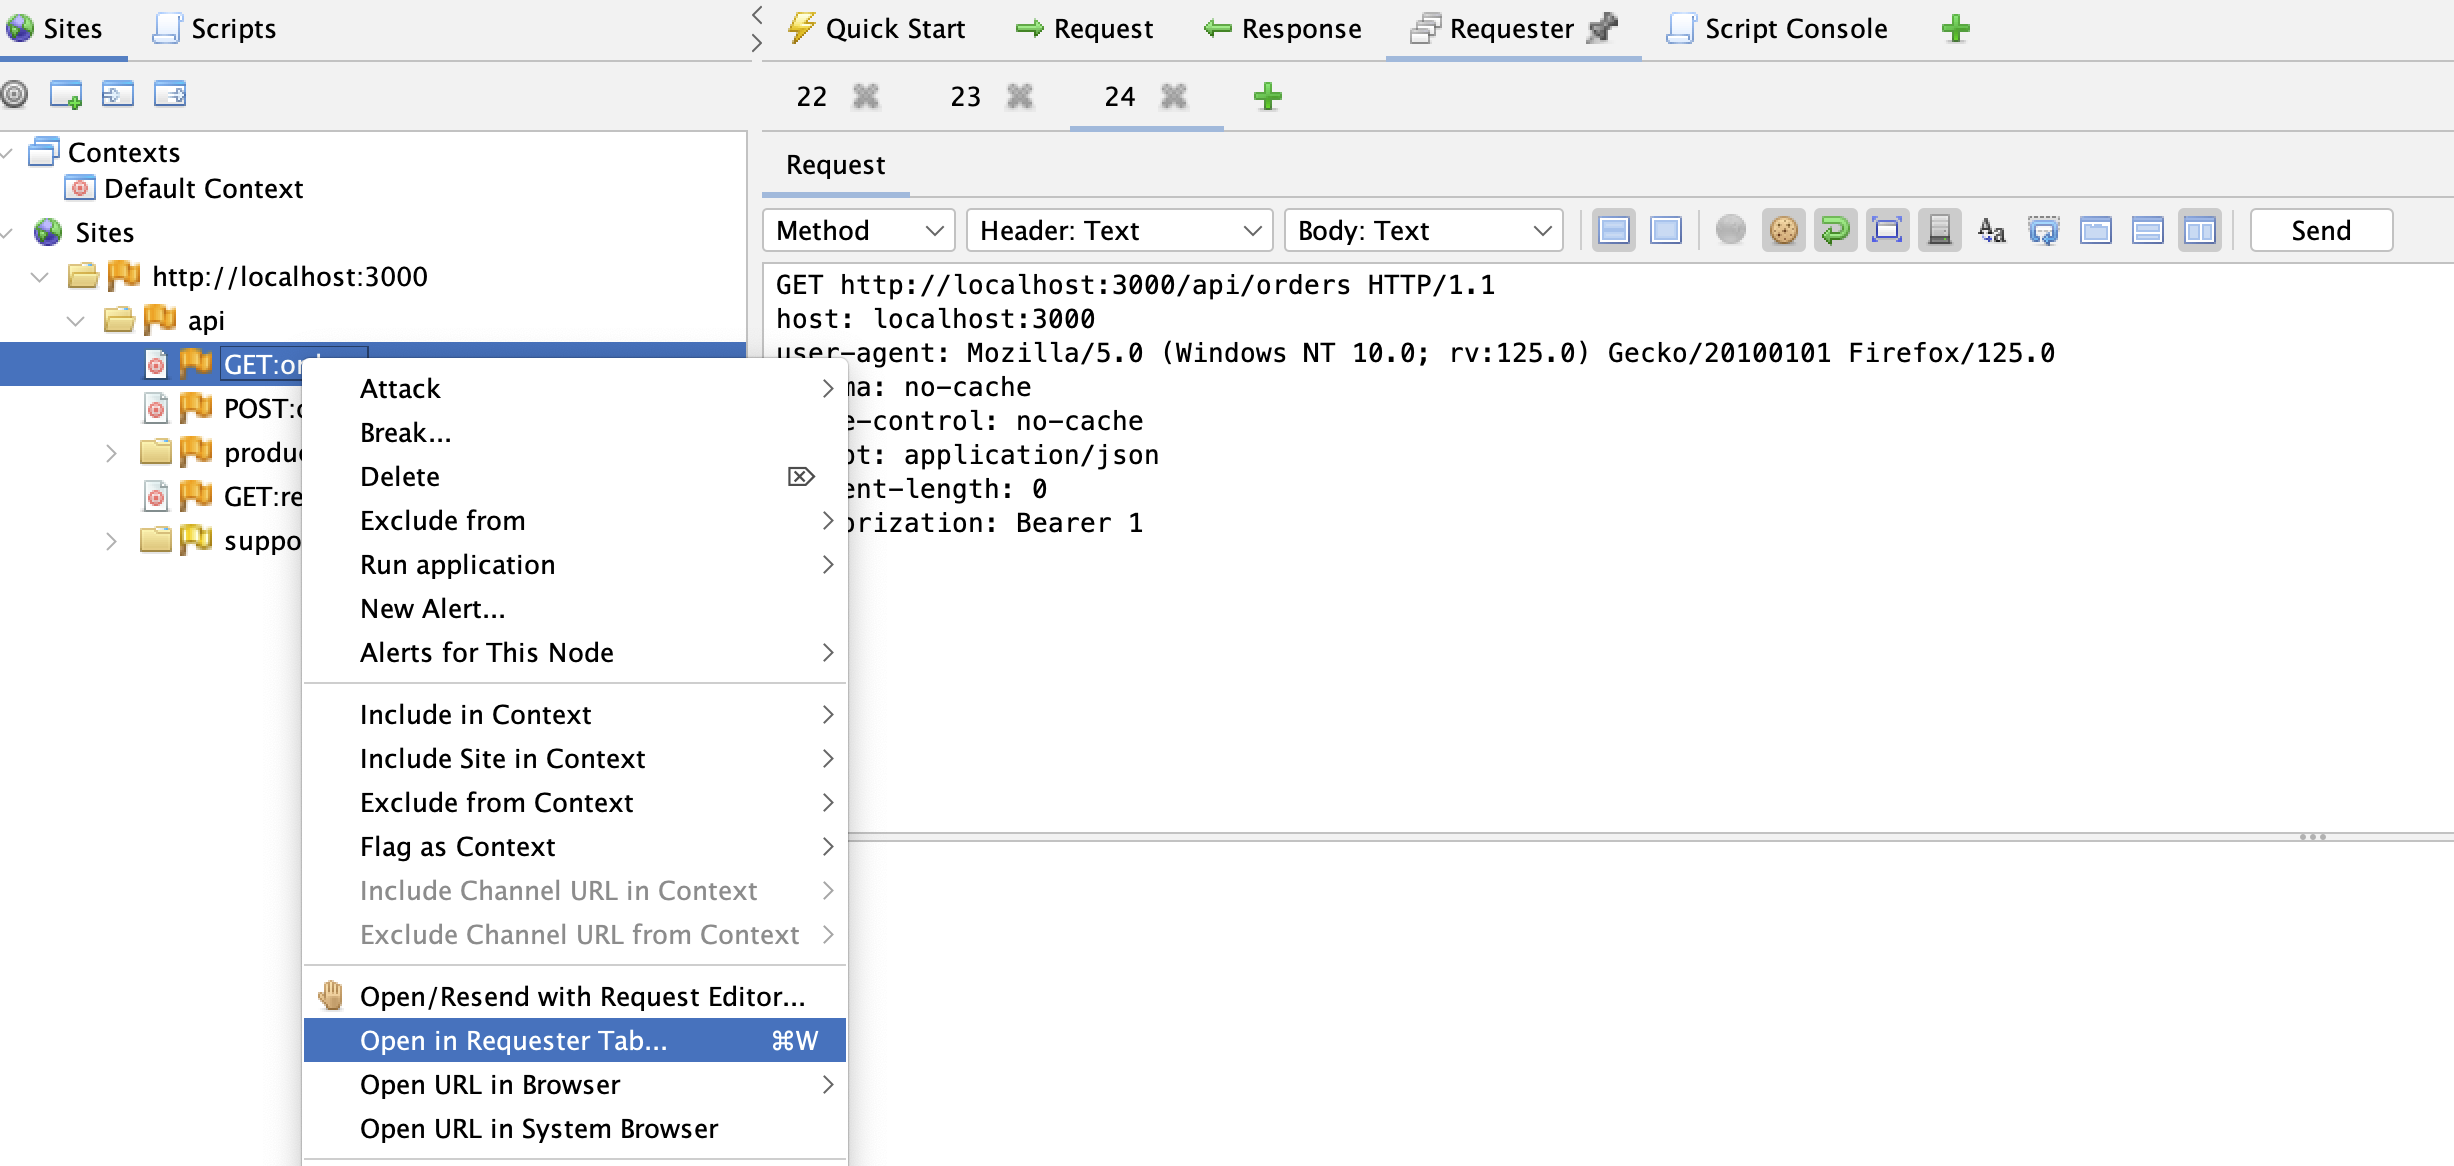
Right-click on a single URL and select Open In Requester Tab. Make changes to the request headers, if necessary, and then click Send.

Obeying the Rate Limit
When testing APIs, it is important to respect the rate limits set by the API provider. If you exceed the rate limit, you may be blocked from accessing the API.
Manually calculate how many requests per second you can make.
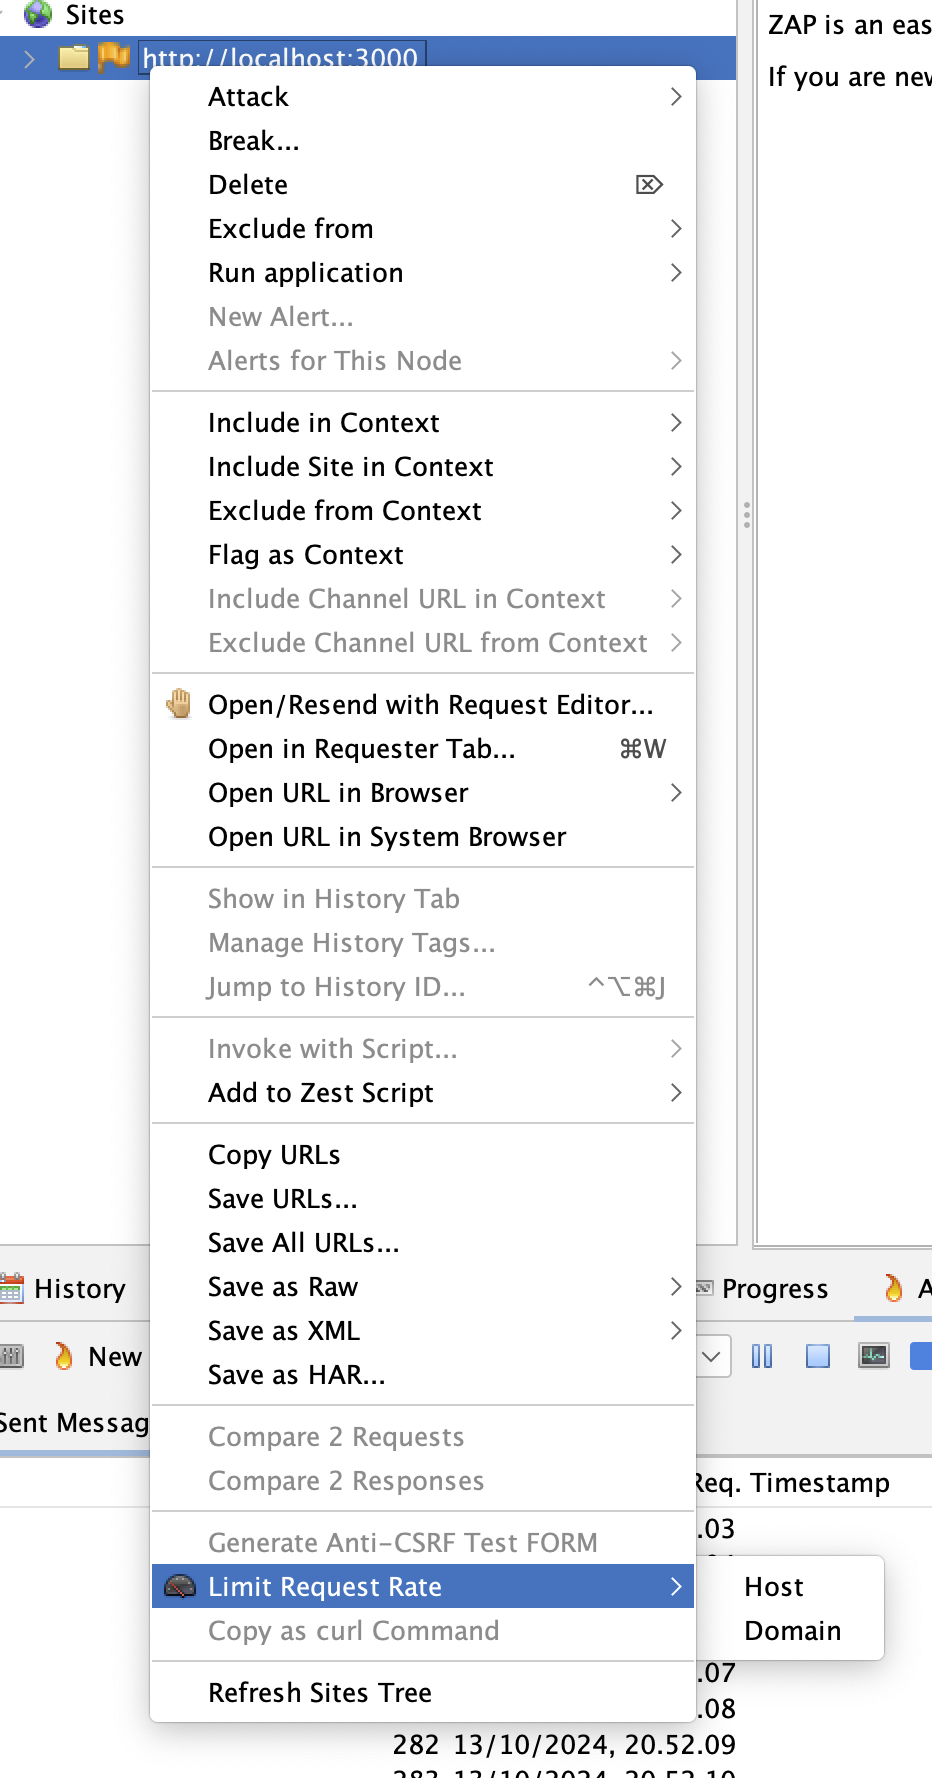
Enable request rate limiting by right-clicking on the site and selecting Limit Request Rate.

Add (Authorization) Headers
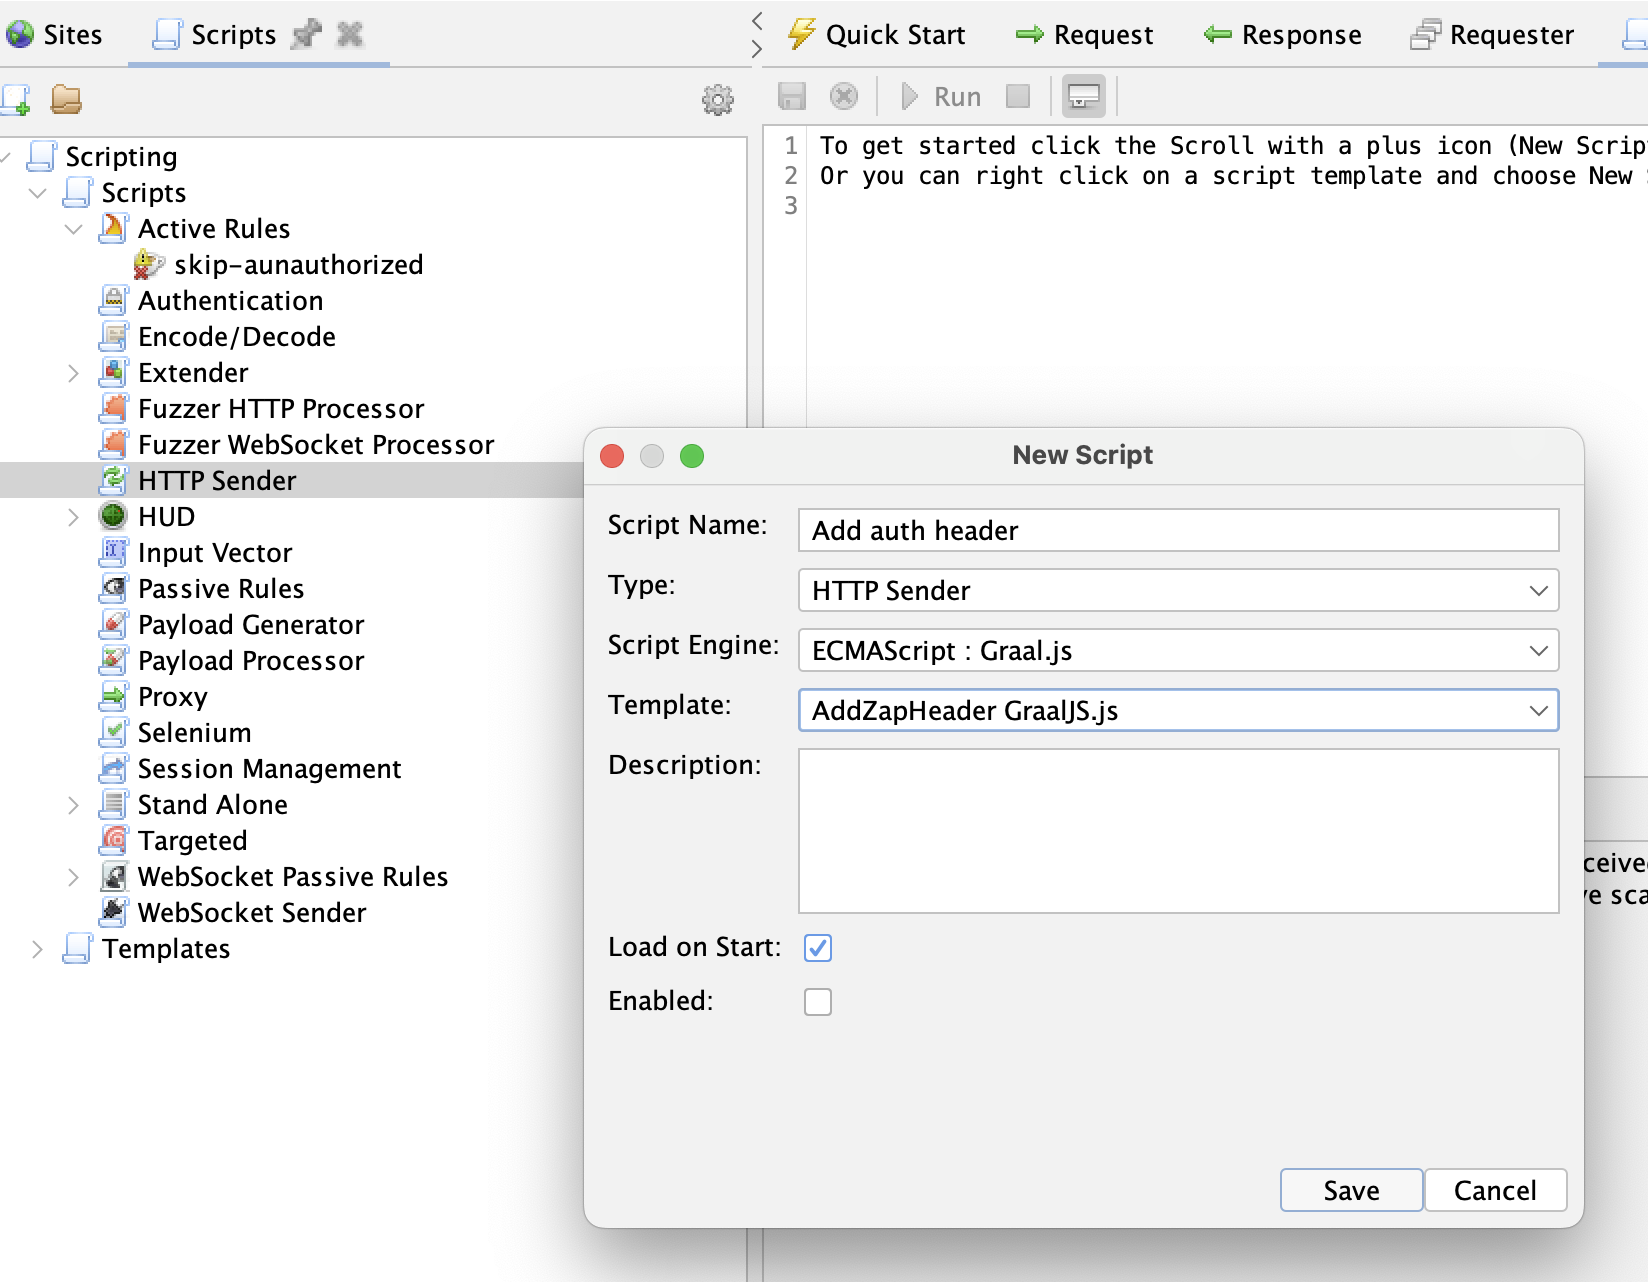
Custom headers, such as Authorization or X-Api-Key, can be added using scripts. Go to the Scripts tab and add a new HTTP Sender-script.

The script requires only the sendingRequest-function:
function sendingRequest(msg, initiator, helper) {
	msg.getRequestHeader().setHeader("Authorization", "Bearer some_token");
}
It is also good practice to add headers like X-Security-Tester-Id: [identifier] to requests, especially when testing production systems.
